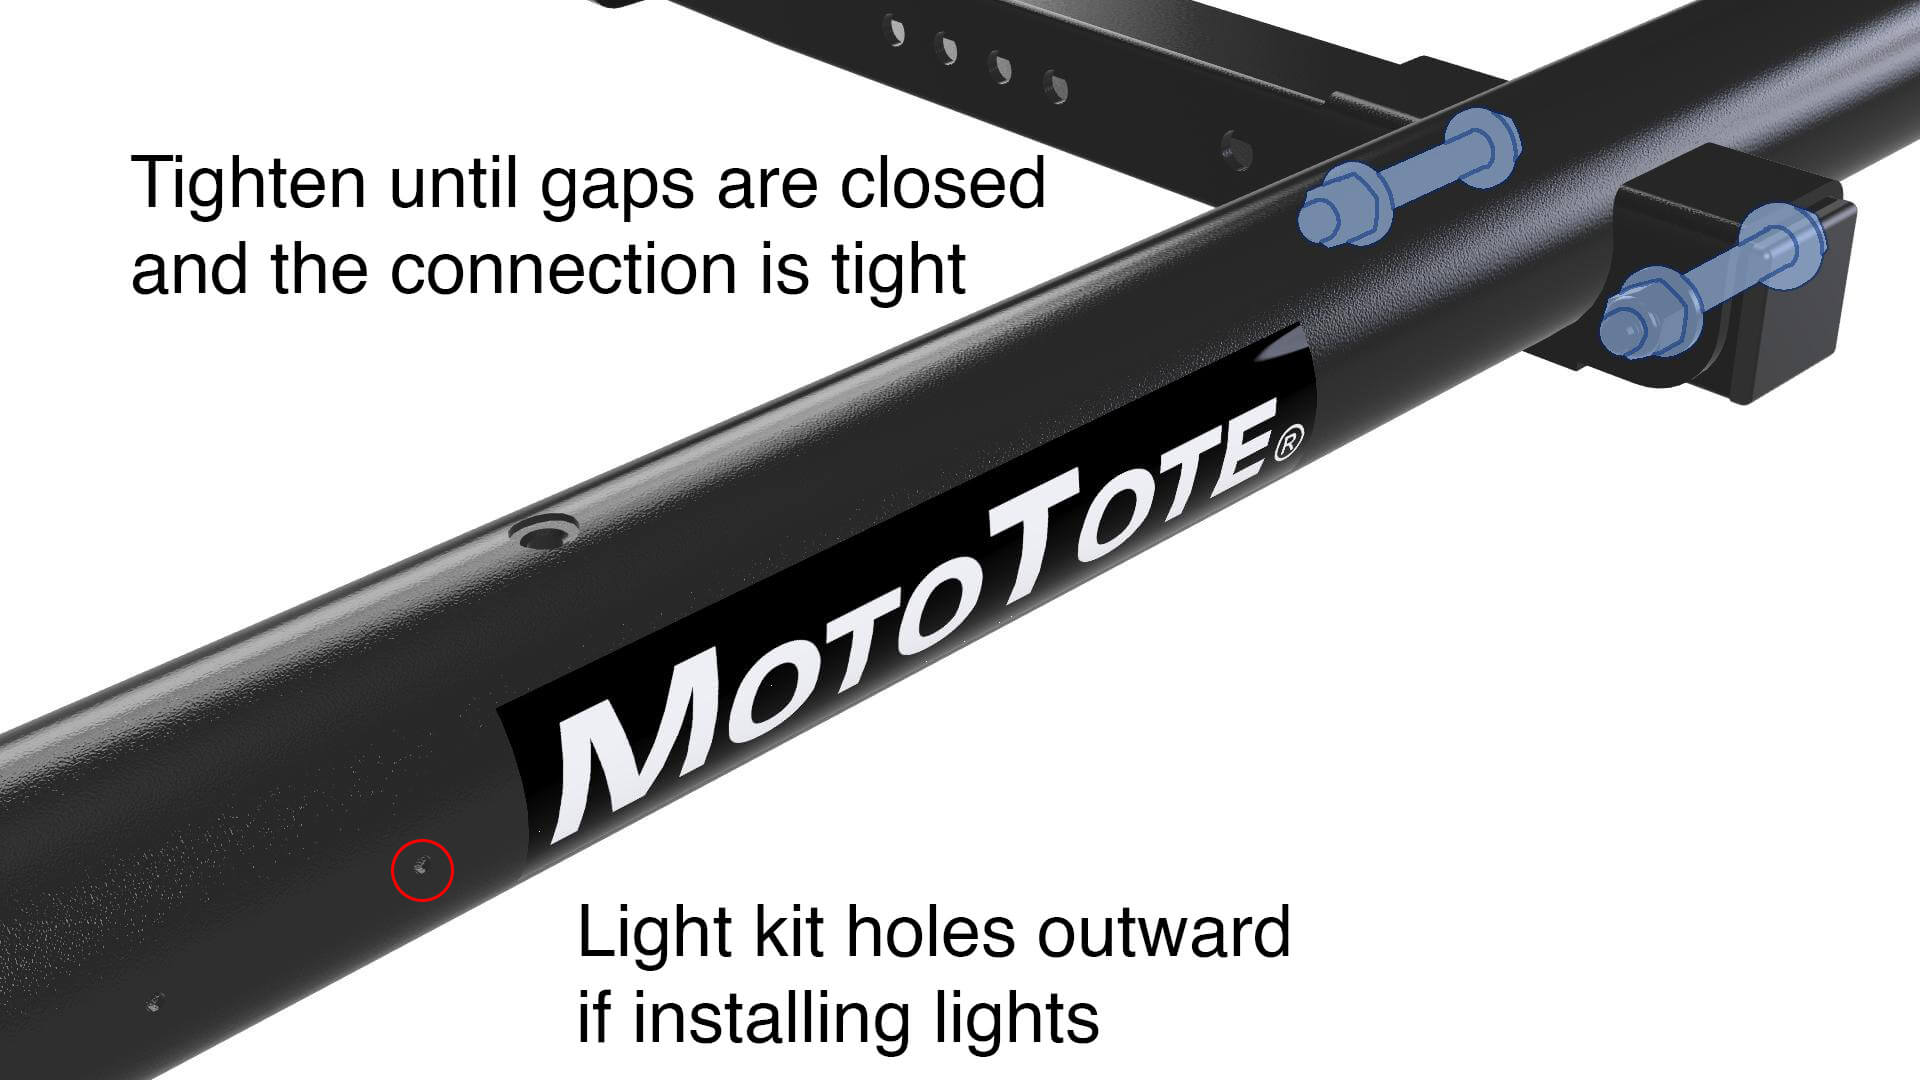
Step 1

Attaching MTX Platform to Square Tube

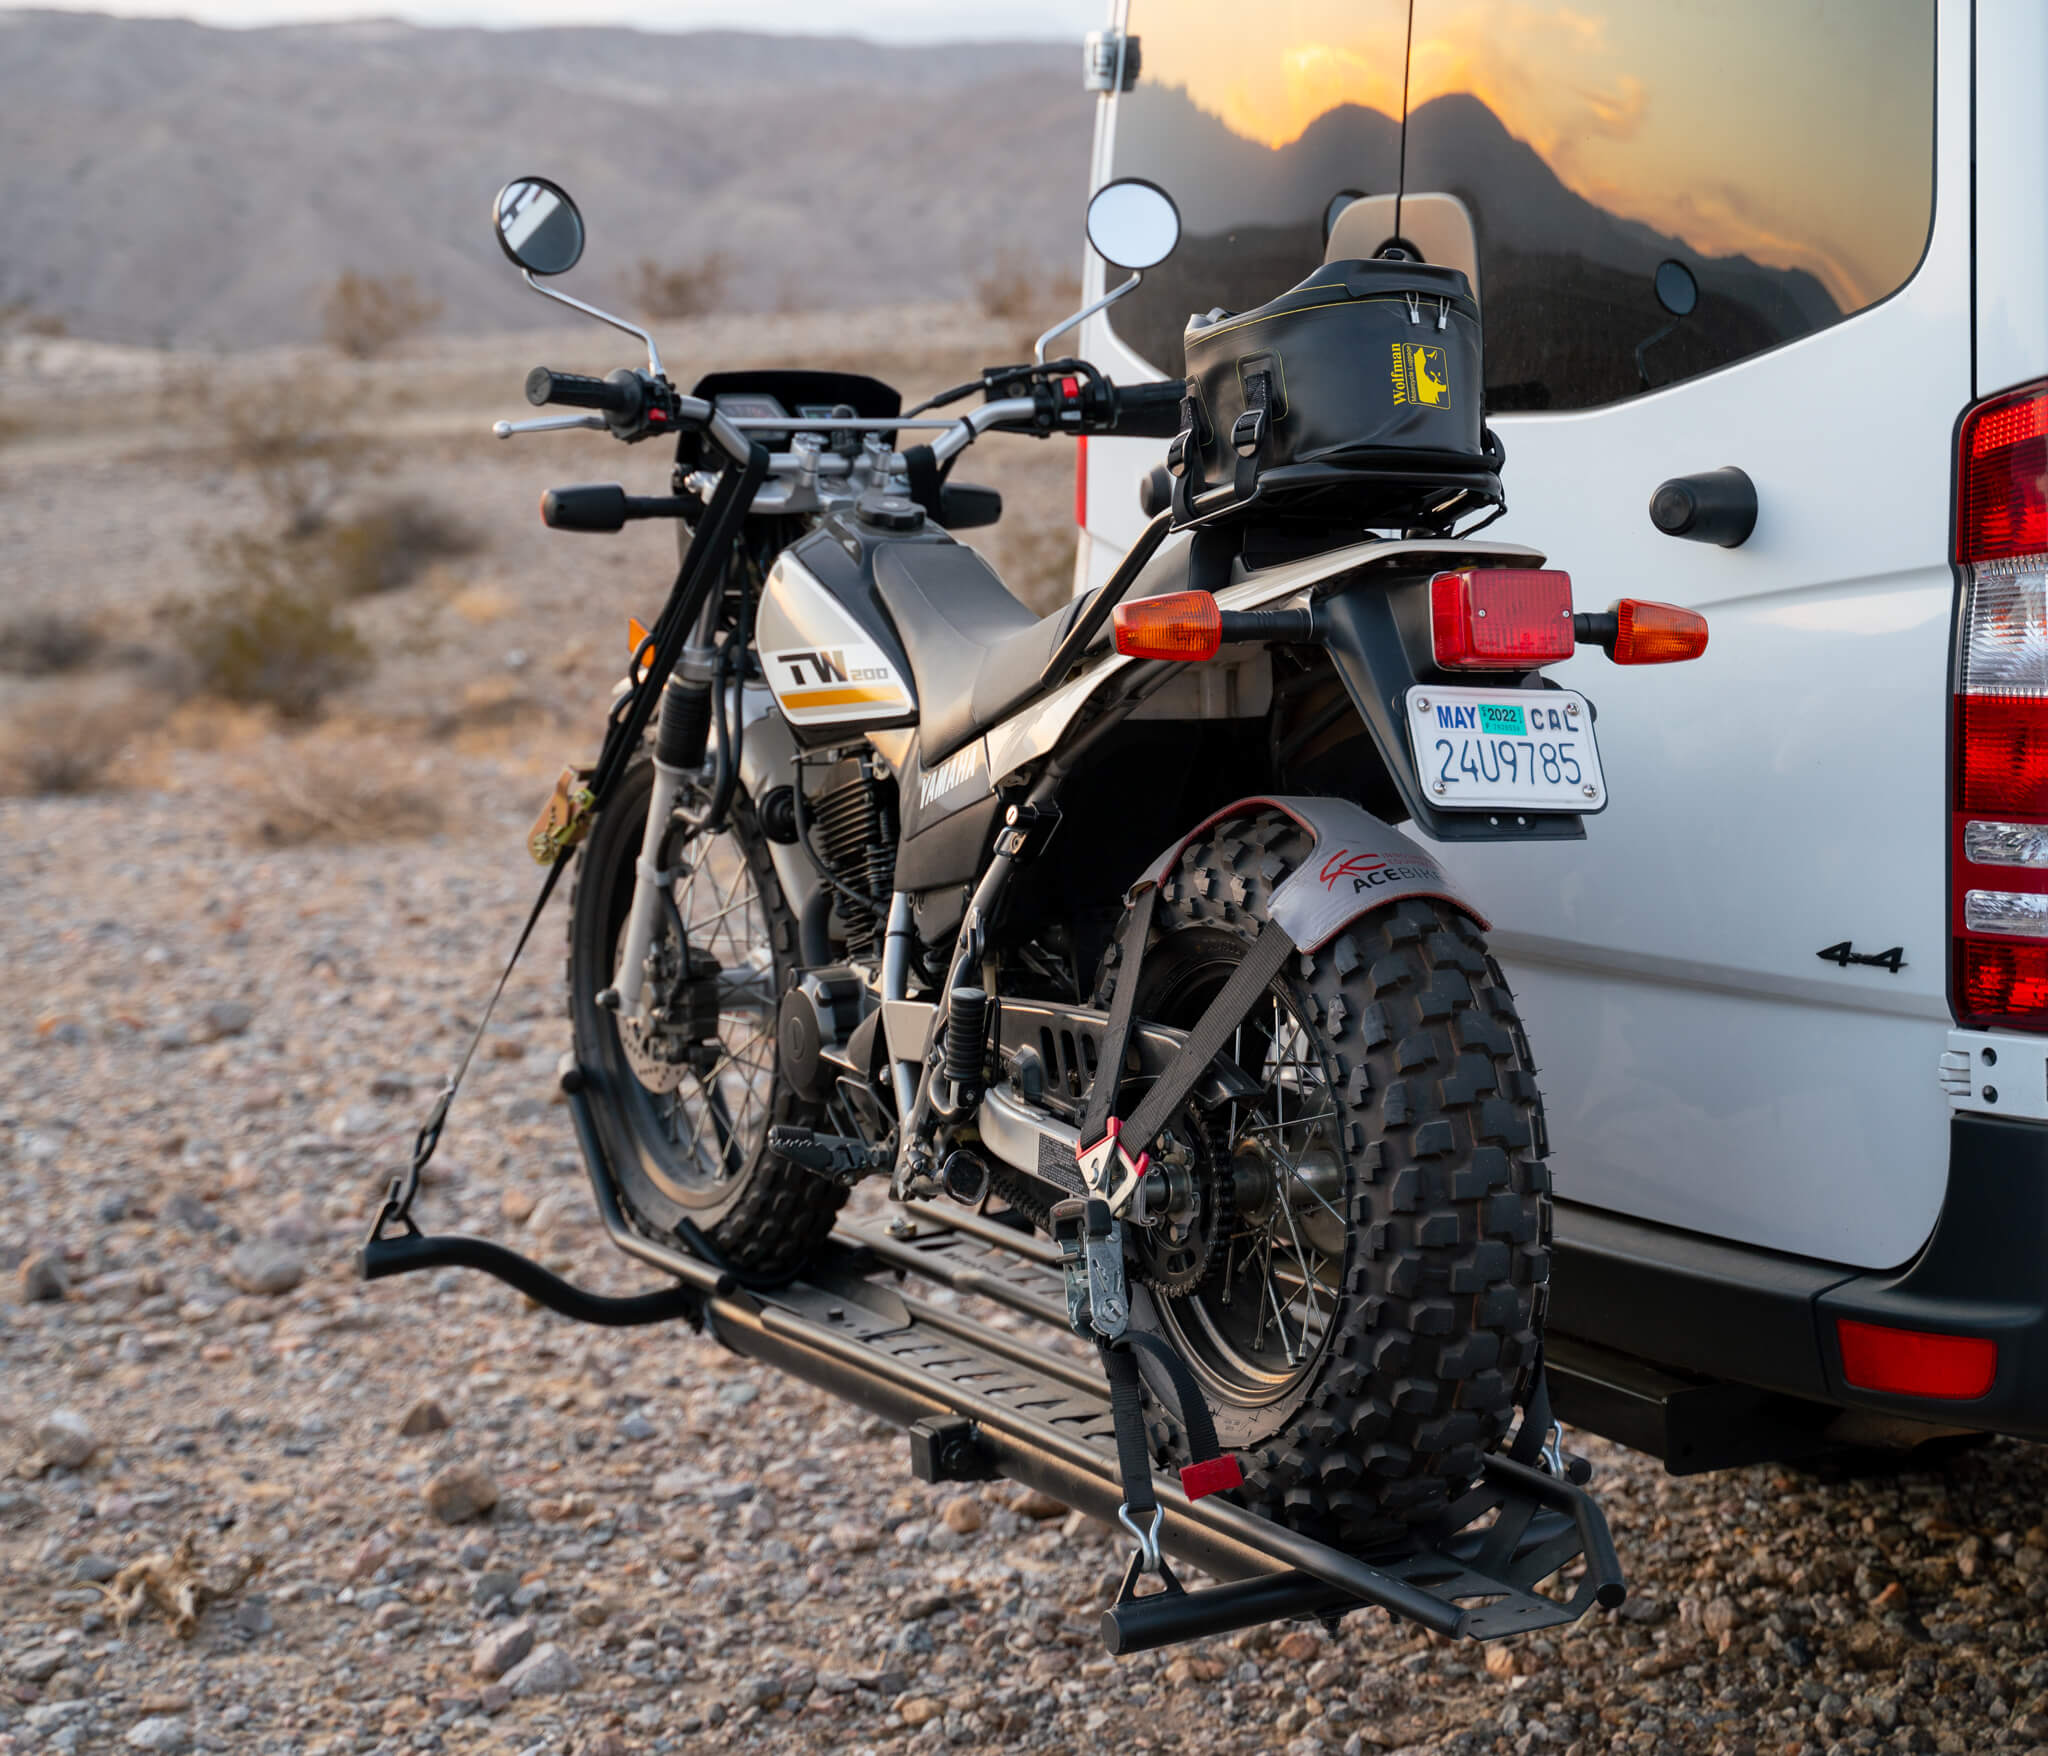
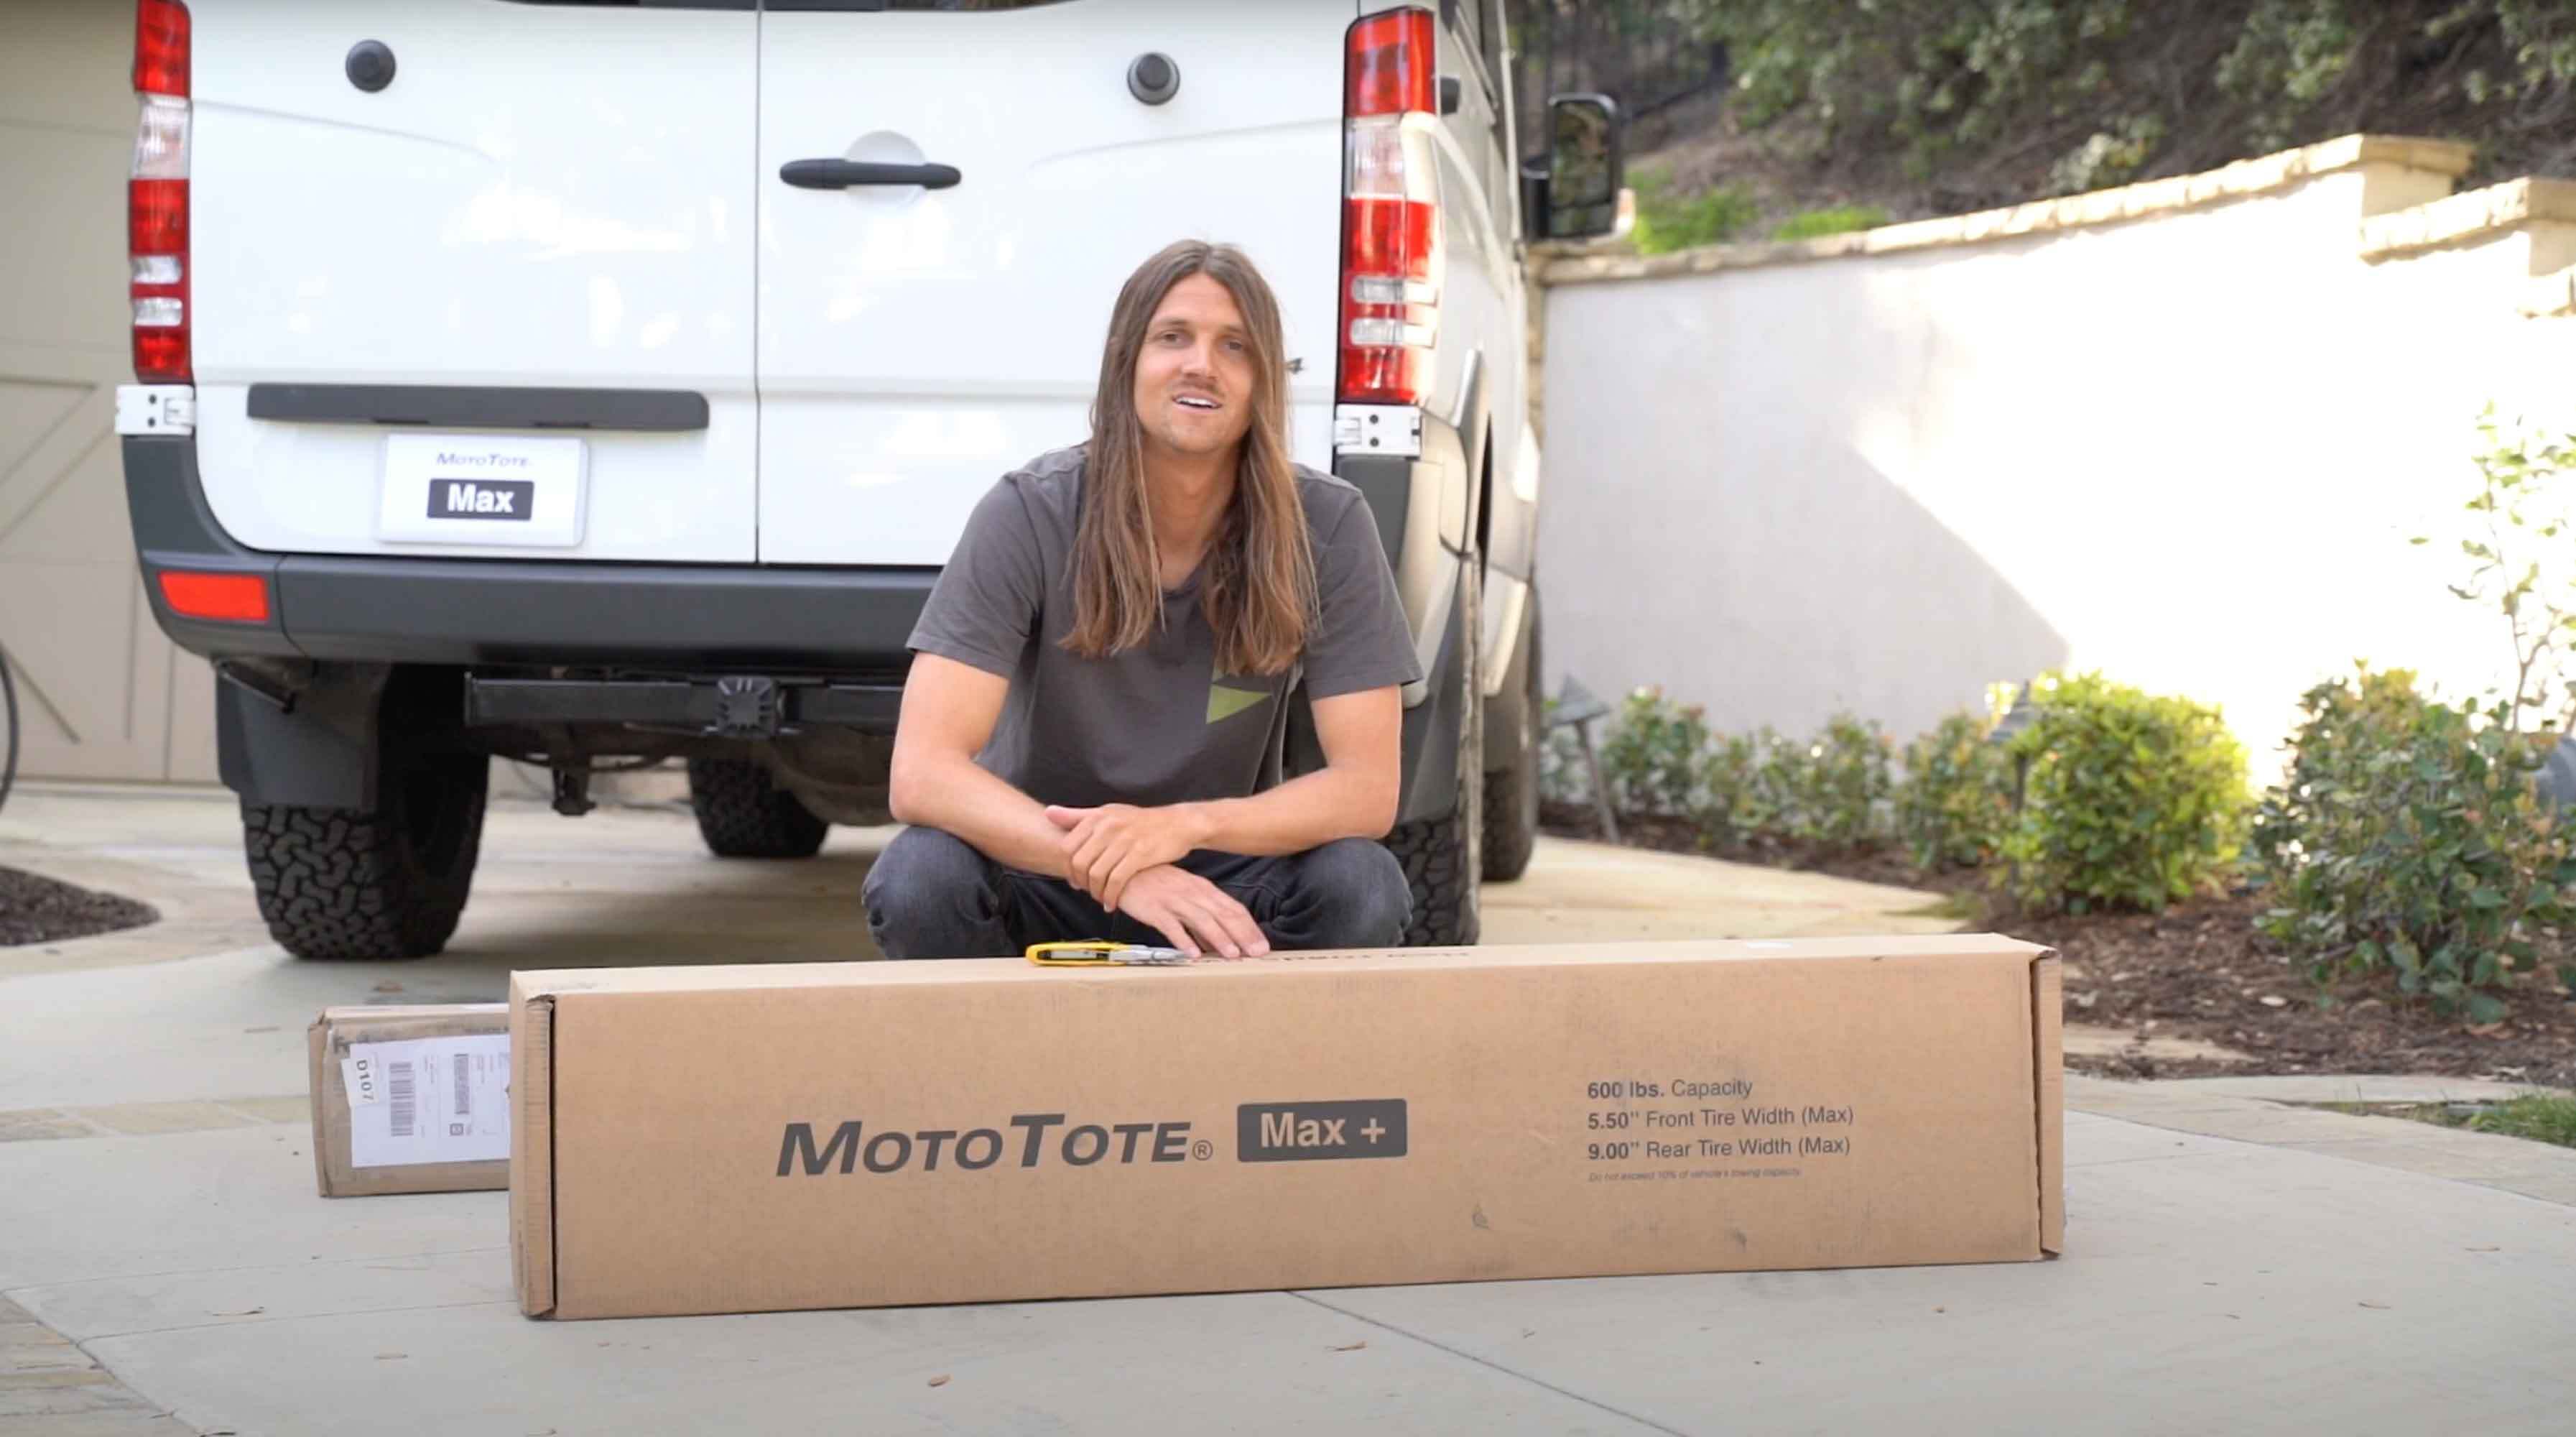
Viewing instructions for Max, Max+


(A.) Pro Tip (optional):

  • To start assembly, insert the square tube several inches into the hitch.
  • This will make things easier by getting the carrier off the ground at a more comfortable height for assembly.
  • You'll see more details about the ZeroWobble Hitch Mount when you reach Step 5.

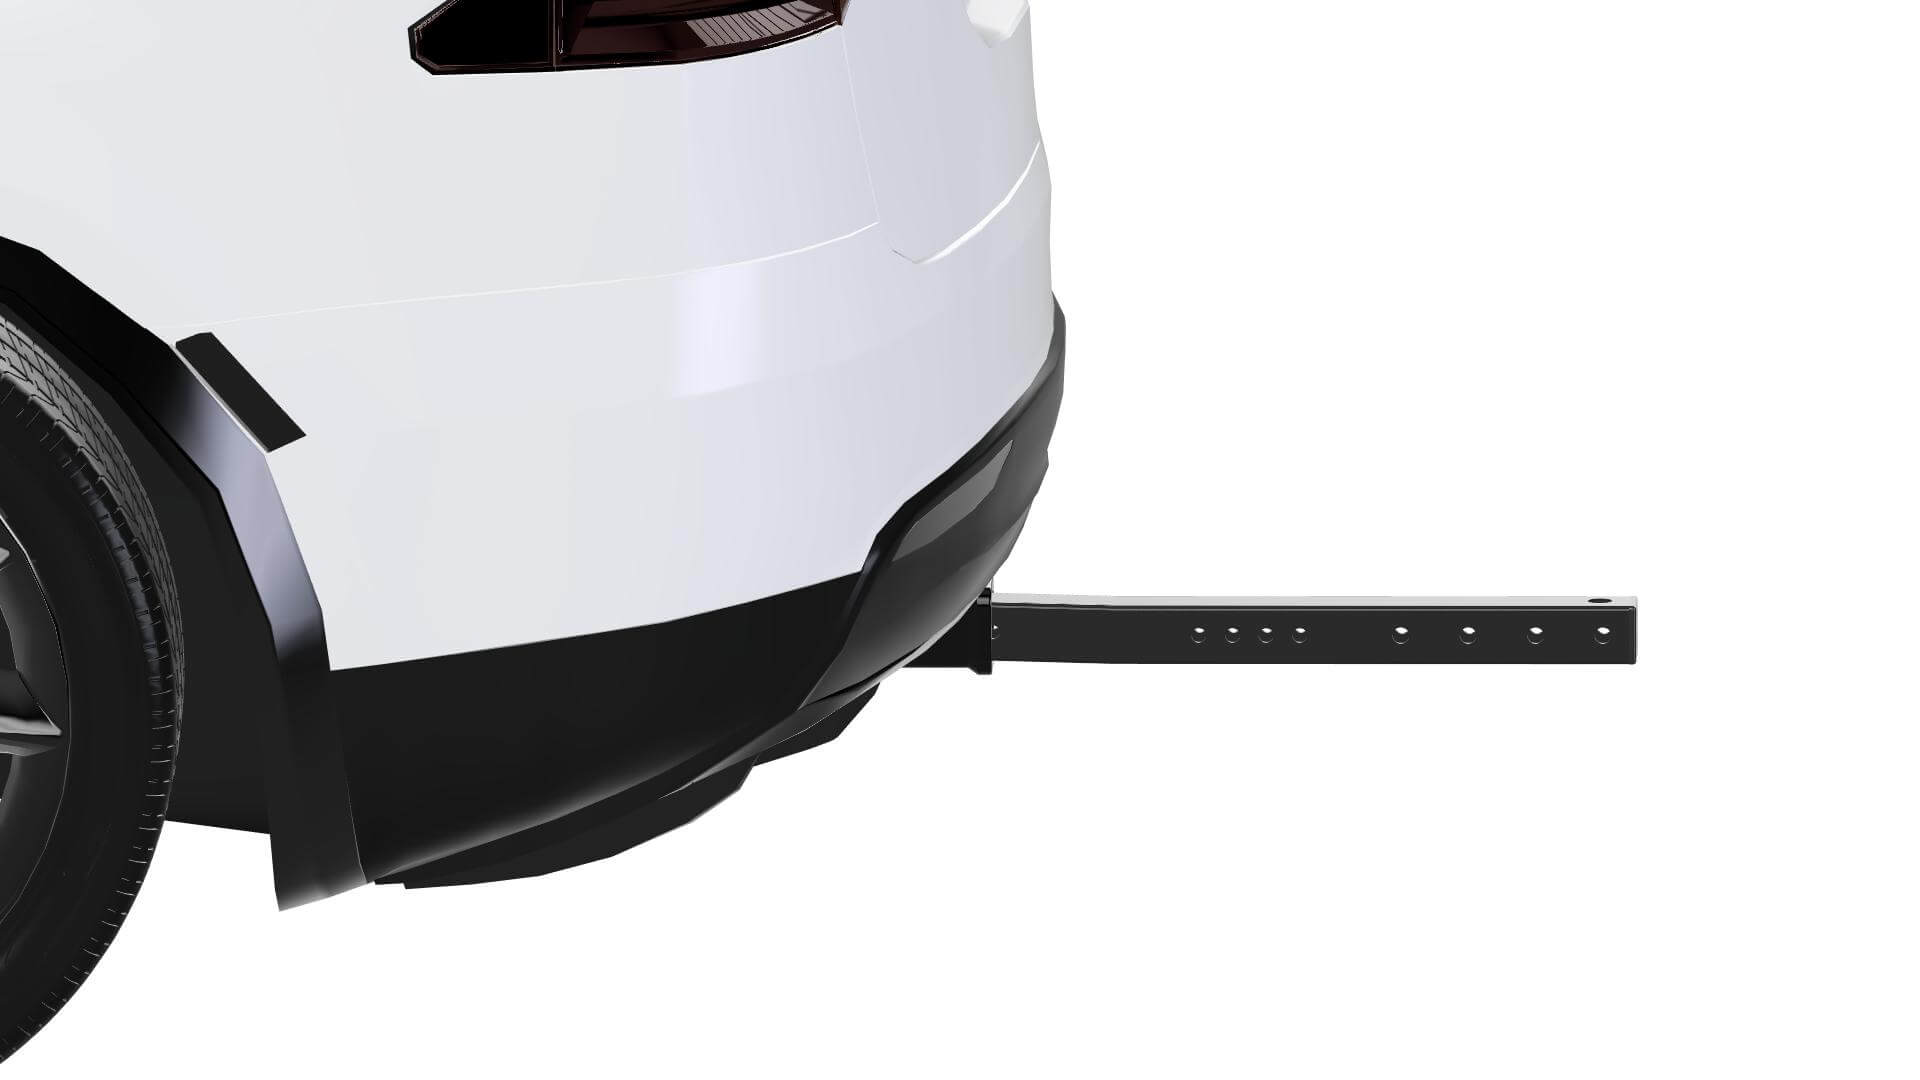
NOTE: The square tube of the Max, Max+, Sport & m3 carriers is bent slightly upward to counteract “hitch droop.” THE CREASE ON THE TOP OF THE TUBE IS NOT A DEFECT.


(B.) Attach MTX Platform to Square Tube

Slide the MTX platform onto the square tube aligning the holes. Find the two big hex head bolts, two nuts, and four washers. Slide one washer on the bolt and guide through the platform. Place a washer on the other side and secure it with a nut. Repeat the process on both sides.IMPORTANT: Tighten until the side gaps are closed, and the connection is tight. The bolt is only tightened when the gaps are fully closed, eliminating the platform from rocking back and forth. For geeks: Max torque 75 ft-lbs(Note: If you plan to use the optional LED light kit, attach the MTX platform, so the holes face rearward).

(C.) Optional: Adding a Trailer Ball

The larger diameter vertical hole in the square tube is for a 5/8 inch shank diameter trailer ball. This is the smallest size of a trailer ball (by design). If you want to install a trailer ball, simply install the MTX Platform closer to the vehicle to expose the hole.CAUTION: For safety purposes, you must add the tongue weight of the trailer to the total weight on the hitch calculation explained here. Assume the trailer tongue weight is at least 10% of the trailer weight.

For a PDF/printable manual for all MTX carriers, click here.